
LESSON #4: STYLING YOUR COURSE
We Want Your Course To Match Your Branding

We've created an entire Style Editor that can quickly and easily help you customize your course colors. You can change borders, background colors, text colors, link colors, button colors, and more!
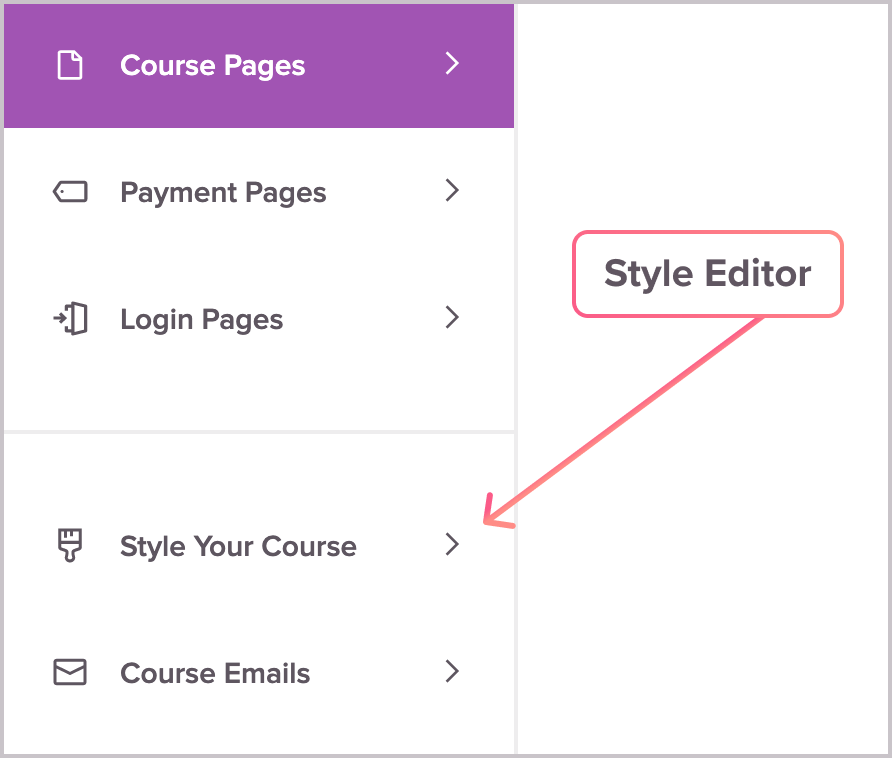
In the left sidebar, just click into Style Your Course and you'll be guided through the different pages within your course (Overview, Lessons, Payment, etc).
We WOULD recommend creating all your course pages first, before styling them. This will help you get a more realistic picture of all the styling, as it's being applied to course pages that are fully created.
Our Style Editor, along with some creative design in your header image and visuals throughout your course can make our simple course template look very unique and custom to your brand!
As you've learned in previous lessons within this course, if you highlight any piece of text you can adjust many additional things directly from the content box formatting menu: Font, font size, font heading, font color, background color, and more!
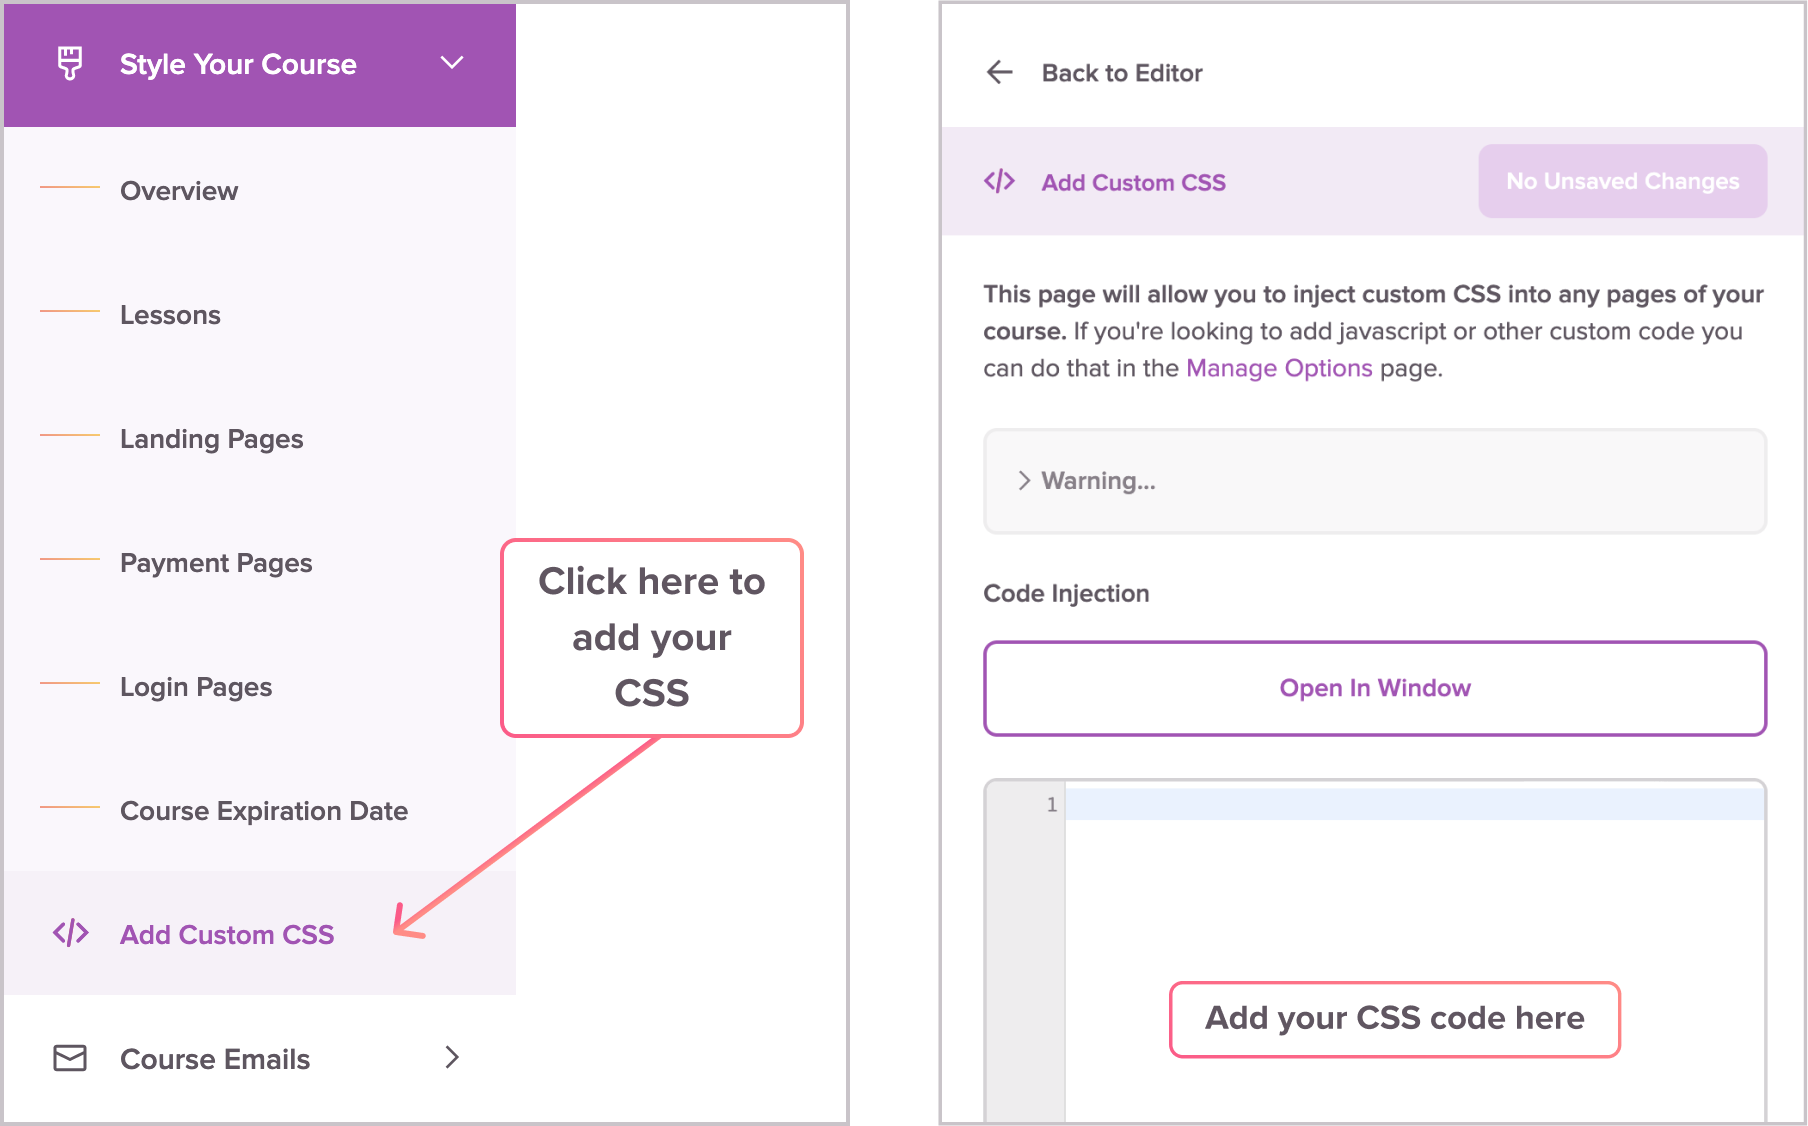
If you are, we have an entire area within the Style Editor where you can add custom CSS to your course! This cranks the customization level alllll the way up to 11 and gives you a nearly unlimited amount of control over how your Teachery course will look and feel.
Just take a look at how all these courses are made with the same template (this one) but the Style Editor and some custom CSS make them look and feel completely different!

🎨 Whether you use custom CSS or go with the tried-and-true route of the color pickers in our Style Editor, we hope you enjoy branding your course to reflect who you are and your existing brand!